How to Repair a Live Leak with Belzona 3D Mesh

INTRODUCTION TO BELZONA'S UTILIZATION OF 3D TECHNOLOGY

With the use of the latest 3D printing technology, Belzona has developed a Belzona 3D mesh to assist with live leak repairs on straight pipes. This 3D mesh is currently available in North and South American regions and is made from high strength flexible nylon. The flexibility of the mesh allows it to contour pipes of any diameter that is ≥ 3″ (7.62 cm). This eliminates the need to fabricate a metal plate to match the specification of a pipe each time an emergency arises.

Designed to be used with Belzona 1100 and 1200 series, the repair with Belzona 3D mesh is safe, easy to carry out and does not require hot work or specialist tools. The repair can be done in situ without the need to disassemble equipment or remove from service. Belzona repair composites allow for reinforcement of the structural integrity of the pipe and keep it in service for years to come. The Belzona 3D mesh live leak repair not only stops a leak in a timely manner, but also offers corrosion resistance and extends the service life of equipment.

WANT TO LEARN HOW TO BOND METAL TO METAL WITHOUT WELDING?

Click here to find out.

BELZONA HOW-TO

In this blog post we demonstrate how Belzona 3D mesh combined with Belzona repair composites perform a live pipe leak repair in a matter of couple of hours. This repair makes it an excellent alternative to other traditional methods of stopping pipe leaks.

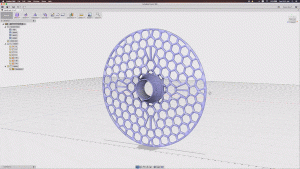
BELZONA 3D MESH DRAWING
Belzona 3D Mesh Live Leak Repair

VIDEO: HOW TO STOP A PIPE LIVE LEAK WITH BELZONA 3D MESH

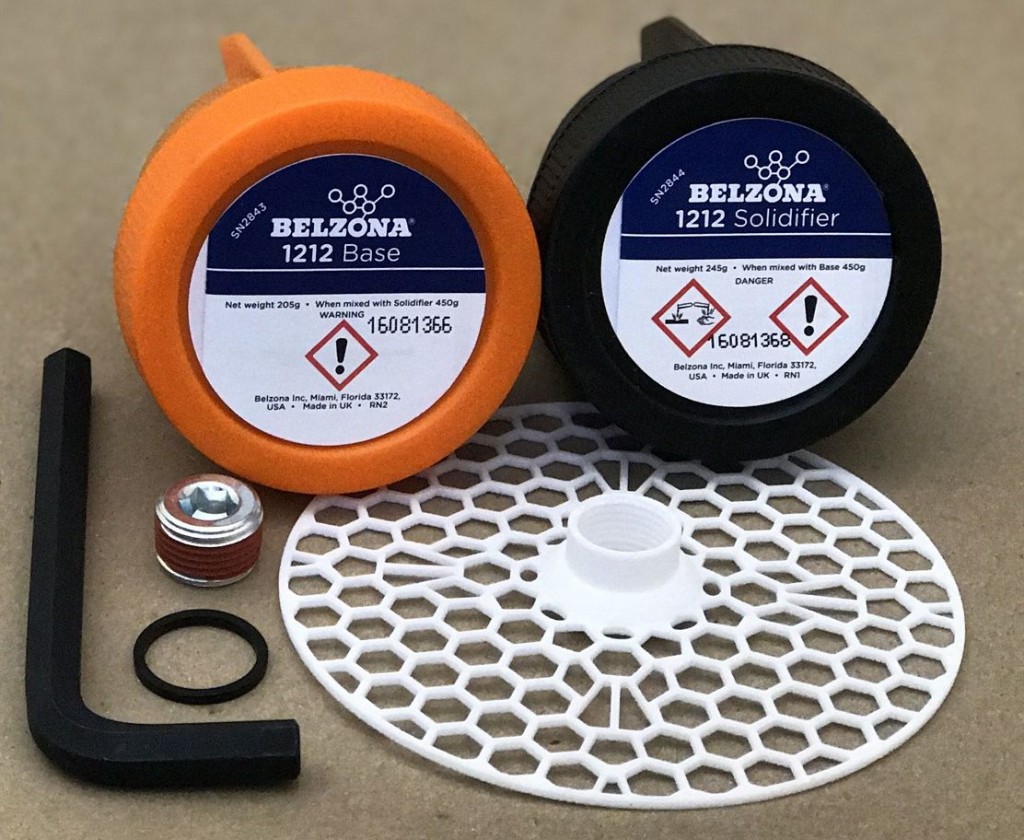
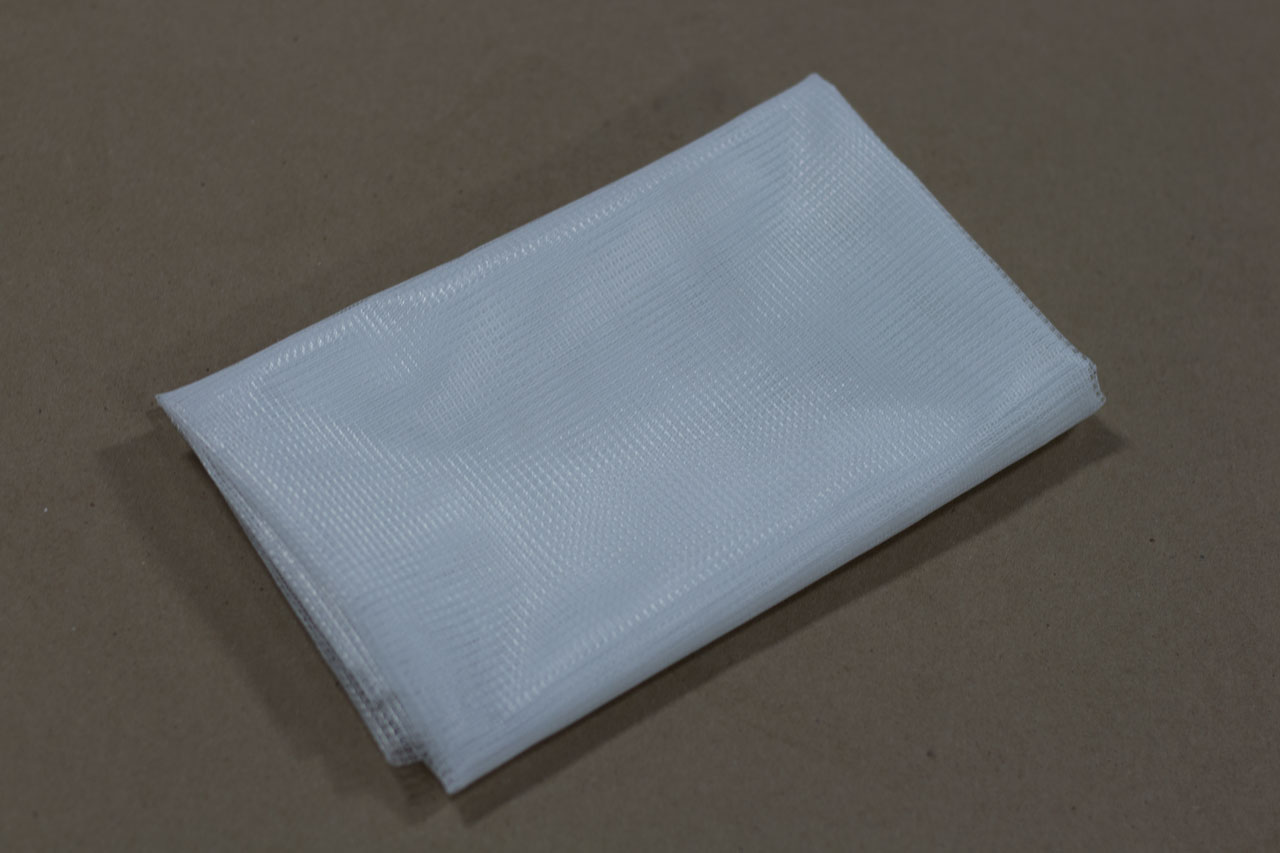
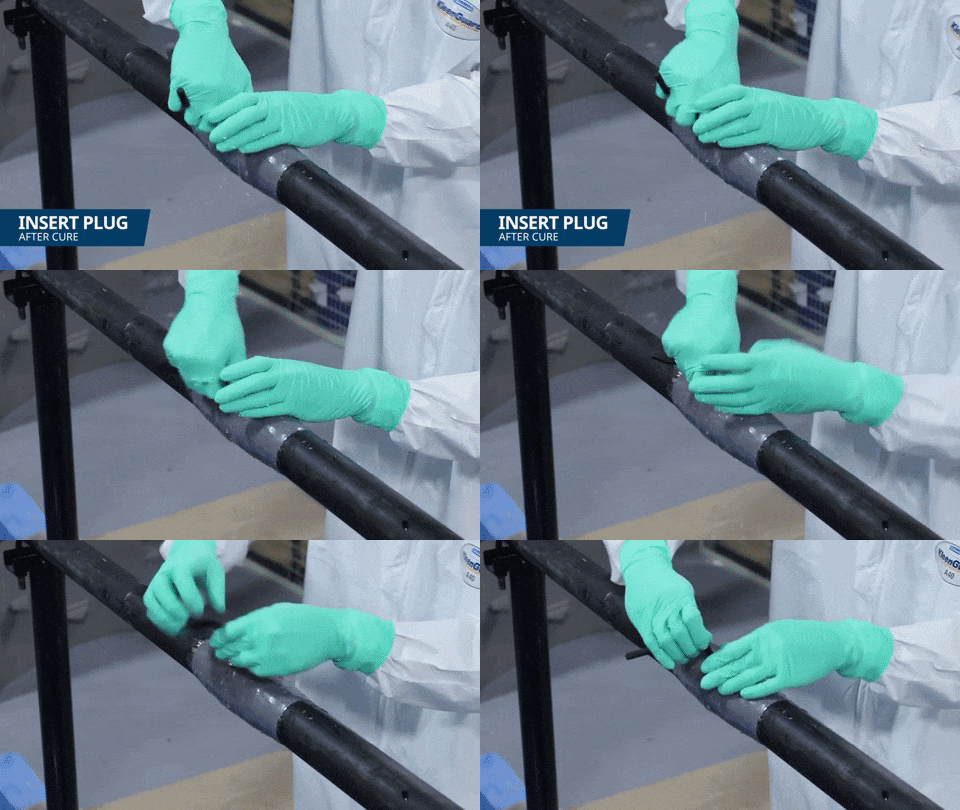
To carry out a live pipe leak repair and to reinforce the structural integrity of the pipe, we used Belzona 1212, Belzona 3D Mesh and a few tools from our machine shop. First, we prepared the surface by removing the old paint and roughening it with a file. The entire repair area was then degreased with Belzona 9111 (Cleaner/Degreaser). We measured a suitable length of the reinforcement sheet and cut a hole in the middle to match the opening in the mesh. Next, the entire contents of Belzona 1212 Base and Solidifier were transferred onto a Belzona mixing board. The components were thoroughly mixed until a uniform color was achieved and the material no longer showed any streakiness. Following the mixing, a layer of mixed Belzona 1212 was applied to the Belzona 3D mesh and to the clean repair area on the pipe. The Belzona 3D mesh with the reinforcement sheet was then positioned on the pipe and aligned with the leak. The pipe was wrapped with the reinforcement sheet to secure the Belzona 3D mesh. We smoothed out the surface using the remaining product. Once cured, the plug was inserted and tightened with an Allen key.

SUPPLIES AND TOOLS NEEDED FOR THIS REPAIR

STEP-BY-STEP INSTRUCTIONS OF A LIVE LEAK REPAIR WITH BELZONA 3D MESH

timeline_pre_loader

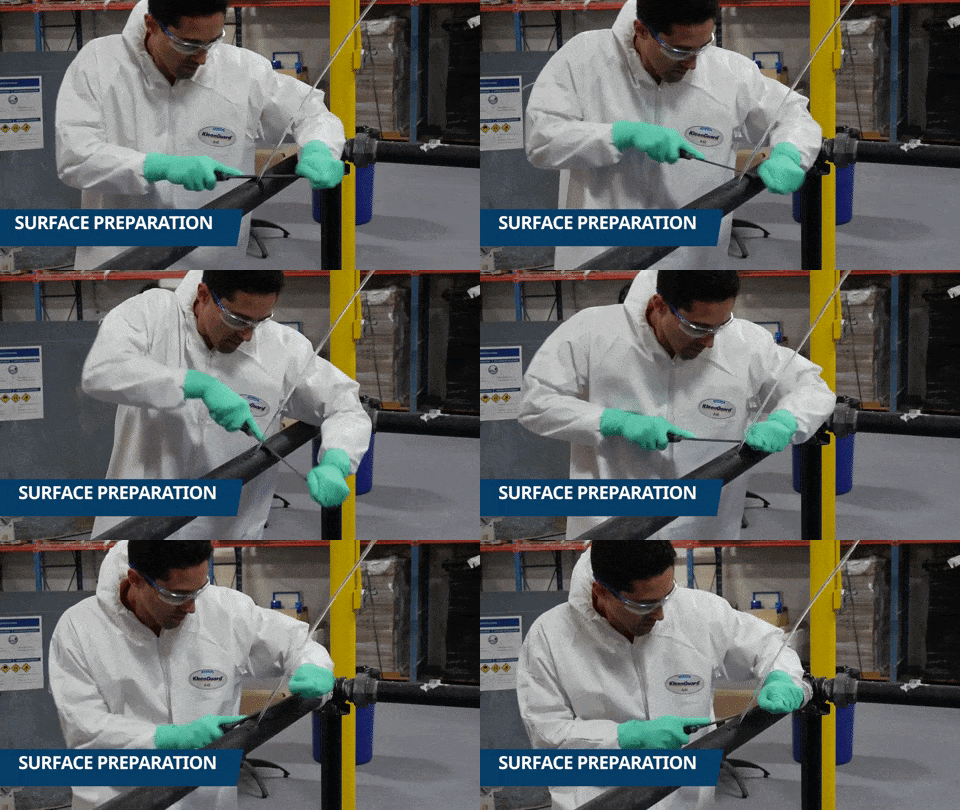
Prepare Surface

Belzona 3D Mesh Live Leak Repair

Roughen the surface around the leak area with a file

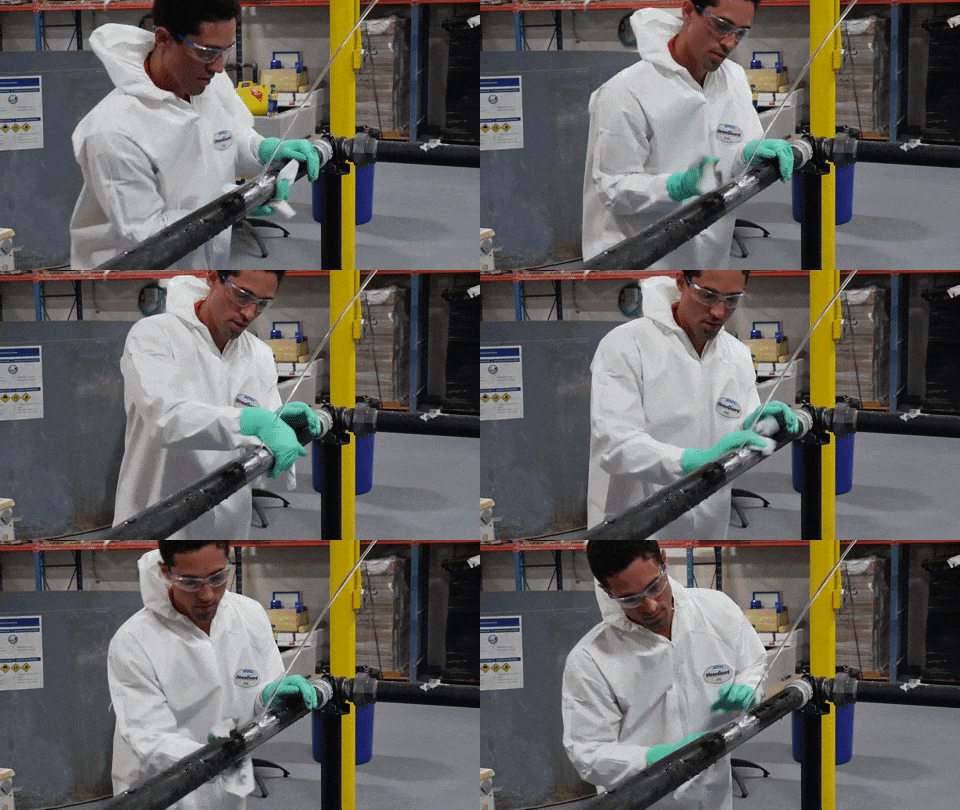
Clean Repair Area

Belzona 3D Mesh Live Leak Repair

Thoroughly clean the repair area to remove all grease, dirt and other contaminants.

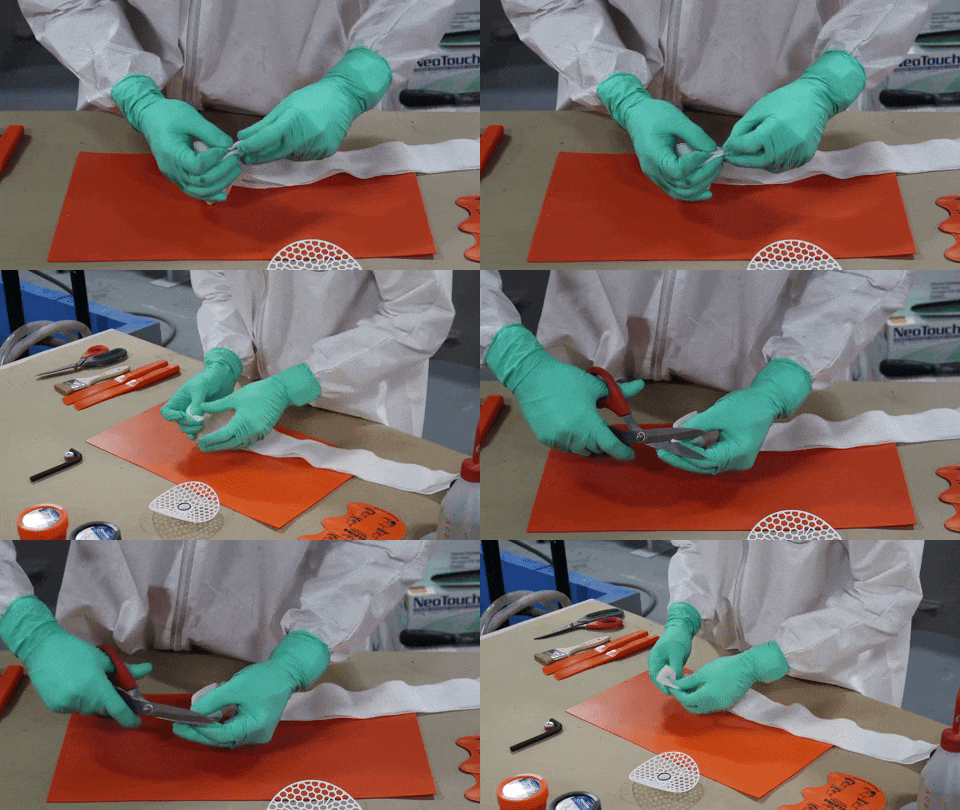
Cut Opening in Reinforcement Tape

Belzona 3D Mesh Live Leak repair

As shown below, fold the reinforcement tape and cut a hole to match the opening in the Belzona 3D mesh.

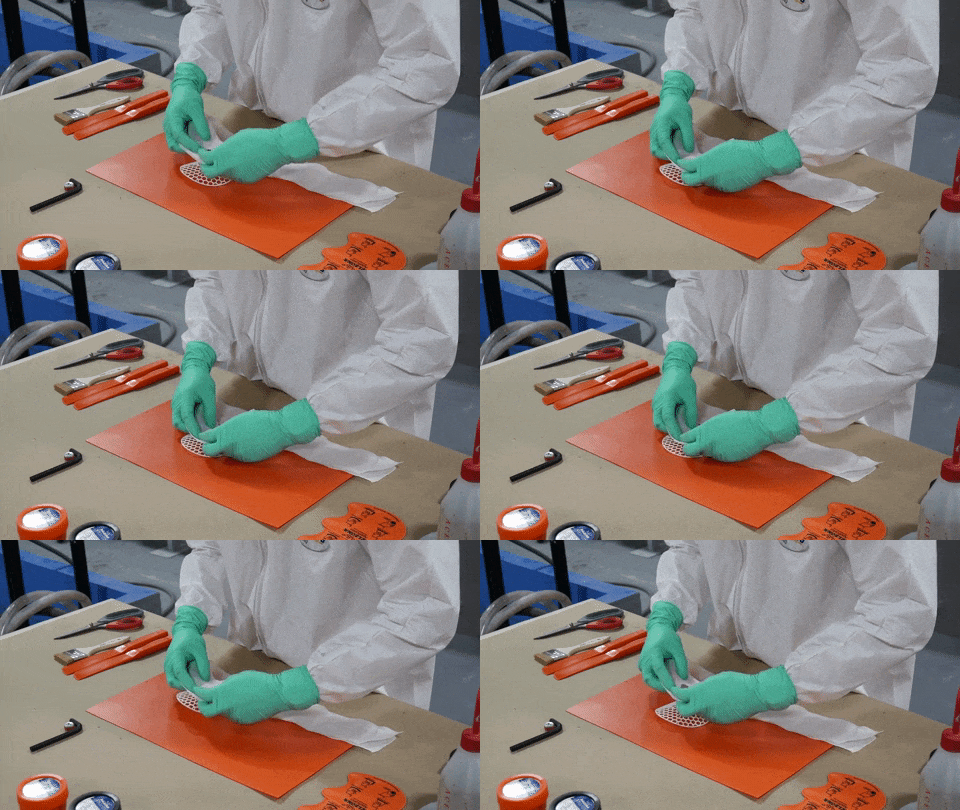
Position Tape over Mesh

Belzona 3D Mesh Live Leak Repair

Carefully position the tape over the Belzona 3D mesh to make sure the opening fits perfectly flush.

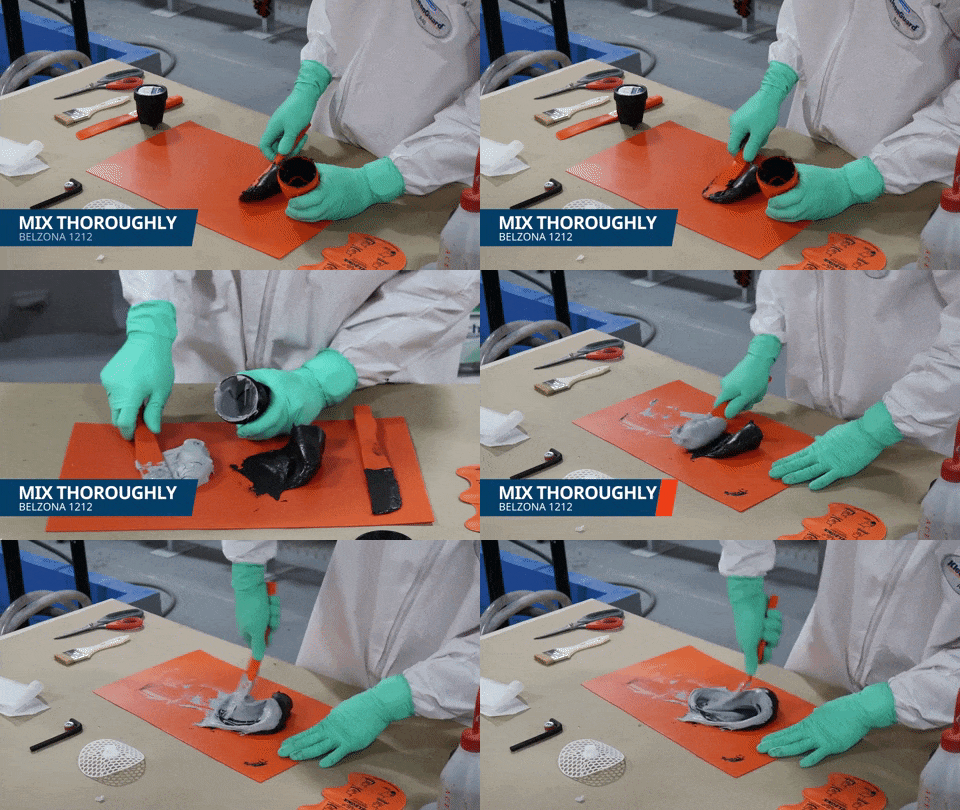
Mix Belzona 1212

Belzona 3D Mesh Live Leak Repair

Transfer the entire contents of Belzona 1212 Base and Solidifier onto a Belzona mixing board and mix thoroughly until a uniform color, free of any streakiness, is achieved.

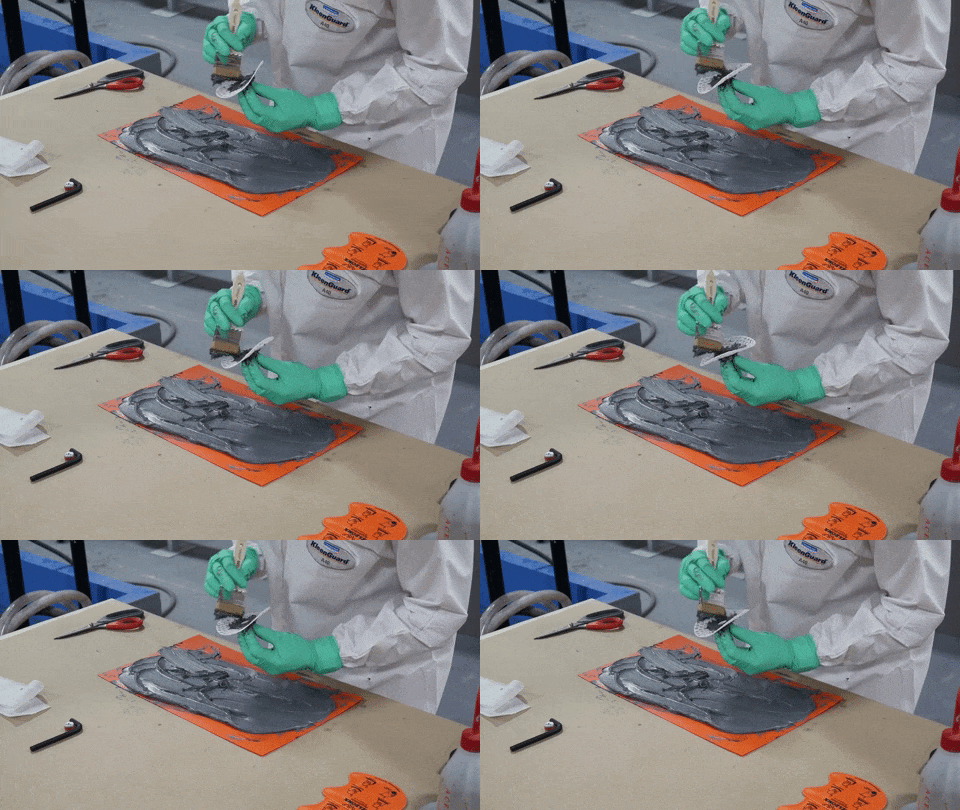
Apply Material onto Mesh

Belzona 3D Mesh Live Leak Repair

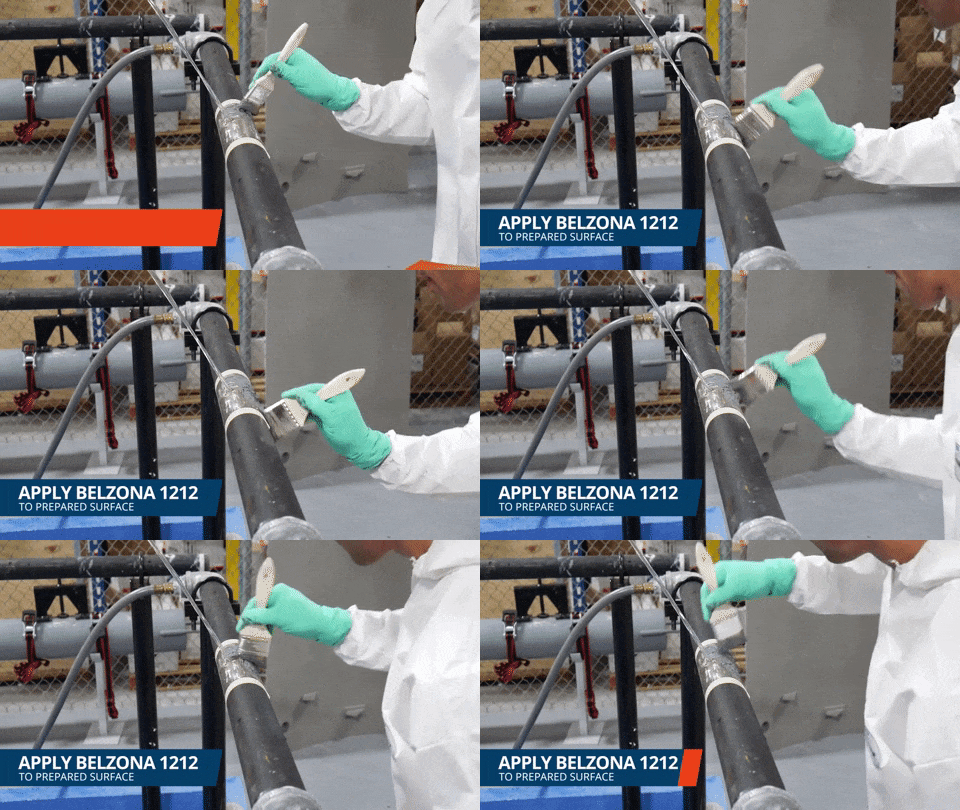
Using a short bristled brush apply the mixed product around the gasket on the Belzona 3D mesh, pressing well into the surface.

Apply Material onto Pipe

Belzona 3D Mesh Live Leak Repair

Using a short bristled brush apply the mixed product onto the entire repair area of the pipe, pressing well into the surface to ensure excellent adhesion with the substrate.

Wet Out Tape

Belzona 3D Mesh Live Leak Repair

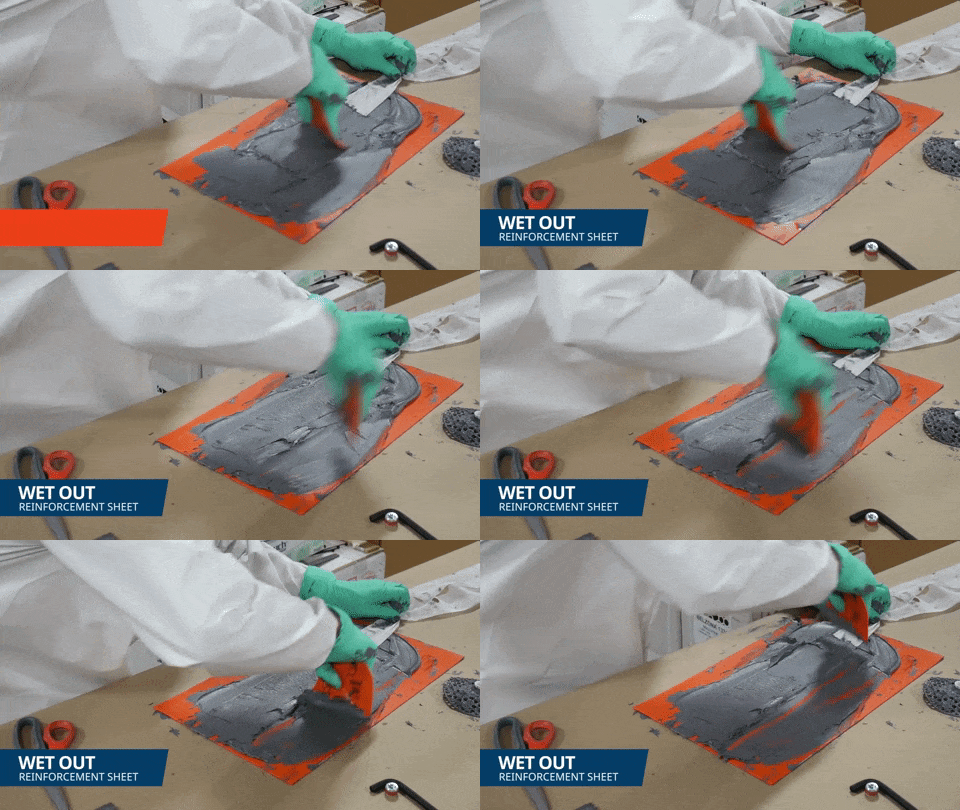
Wet out a suitable length of Belzona 9341 (Reinforcement Sheet) with the mixed product.

Position 3D Mesh

Belzona 3D Mesh Live Leak Repair

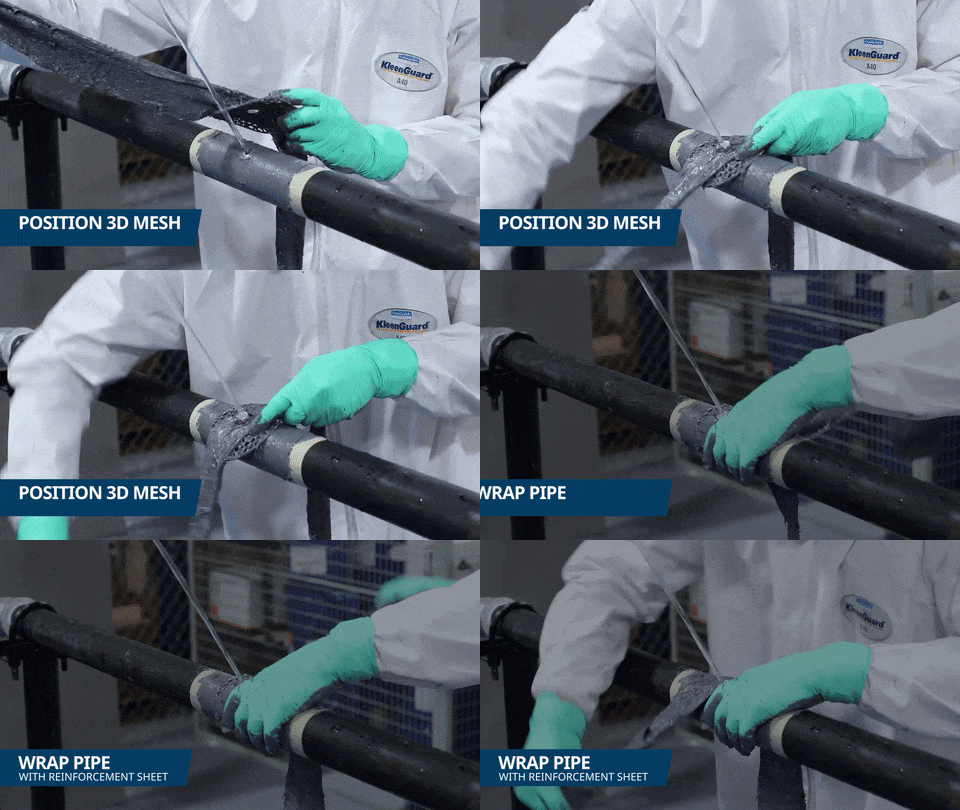
Position the Belzona 3D mesh over the hole and wrap with the reinforcement sheet, pressing down firmly.

Smooth Out Repair Area

Belzona 3D Mesh Live Leak Repair

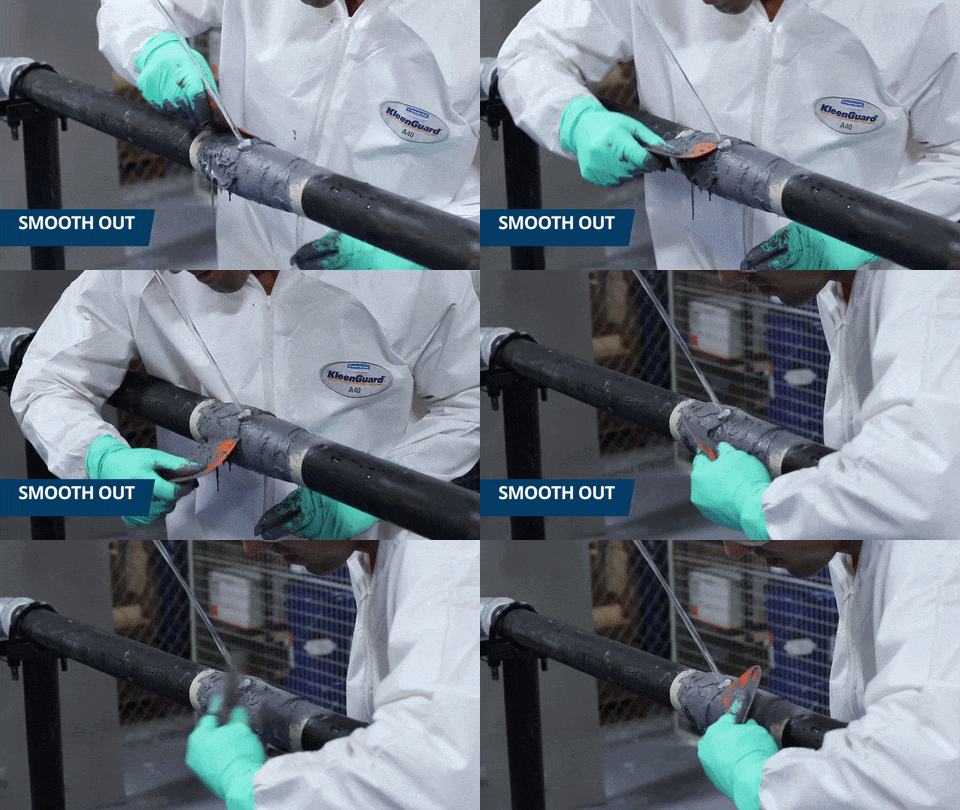
Using a Belzona applicator, smooth out the surface to remove excess product.

Insert Plug

Belzona 3D Mesh Live Leak Repair

Insert the plug into the hole and tighten with an Allen key.

WANT MORE INFORMATION?

Visit our website: www.belzona.com/metal-repair

This Post Has 6 Comments

  1. Pingback: Shaft Repair Using Injection with Belzona 1321 and a 3D Former

  2. Pingback: How to Repair a Pipe with a Belzona Water-Activated Wrap Kit - Belzona Blog

  3. Carl

    When will this be available to us?

    1. Yulia Burova

      Carl,

      Thank you for your question!

      The Belzona 3D Leak Seal Mesh has limited availability throughout the Belzona Distributor network. To check availability, please click here.

      Best regards,
      Yulia Burova

  4. Chuck Billing

    Nice procedure/video
    At what temp, and or, pressure do you not do this procedure?

    1. Yulia Burova

      Dear Chuck,
      Thank you for your comment and question.
      At Belzona we take health and safety very important. The video was completed using water at approximately 85F and 50psi water pressure.
      We are continuing to conduct testing to establish final maximum operational parameters.
      Based on the applications completed so far there is a large number of opportunities to repair.
      If you have any other questions, please let us know.

      Best regards,
      Yulia Burova

Leave a Reply