INTRODUCTION TO SAFETY MARKINGS
Safety markings are an essential component to a safe workplace. Most importantly, the floors must be clearly marked. Therefore, one of the most common uses for safety markings is designating aisles and paths in high traffic areas such as warehouses, storage facilities and production terminals. When managed and designed properly, safety markings improve safety, productivity and the overall efficiency of the work flow.
BELZONA HOW-TO
In this blog post, we demonstrate how to create safety markings with Belzona 5231 (SG Laminate). Belzona 5231 is a two-part epoxy coating designed to resist abrasion and chemicals. When combined with an aggregate, Belzona 5231 creates a slip-resistant flooring solution. Belzona 5231 comes in a variety of colors. For this application, we used Belzona 5231 in bright yellow as required by OSHA standards.
WANT TO LEARN MORE ?
BELZONA SOLUTIONS FOR THE FLOOR AND CONCRETE REPAIR
Visit our website: www.belzona.com/concrete-repair
Video : How To Create Safety Marking with Belzona 5231
In “Concrete Solutions from Floor to Ceiling” post we address various challenges and damage that concrete might experience, and solutions that Belzona offers to help tackle those challenges.
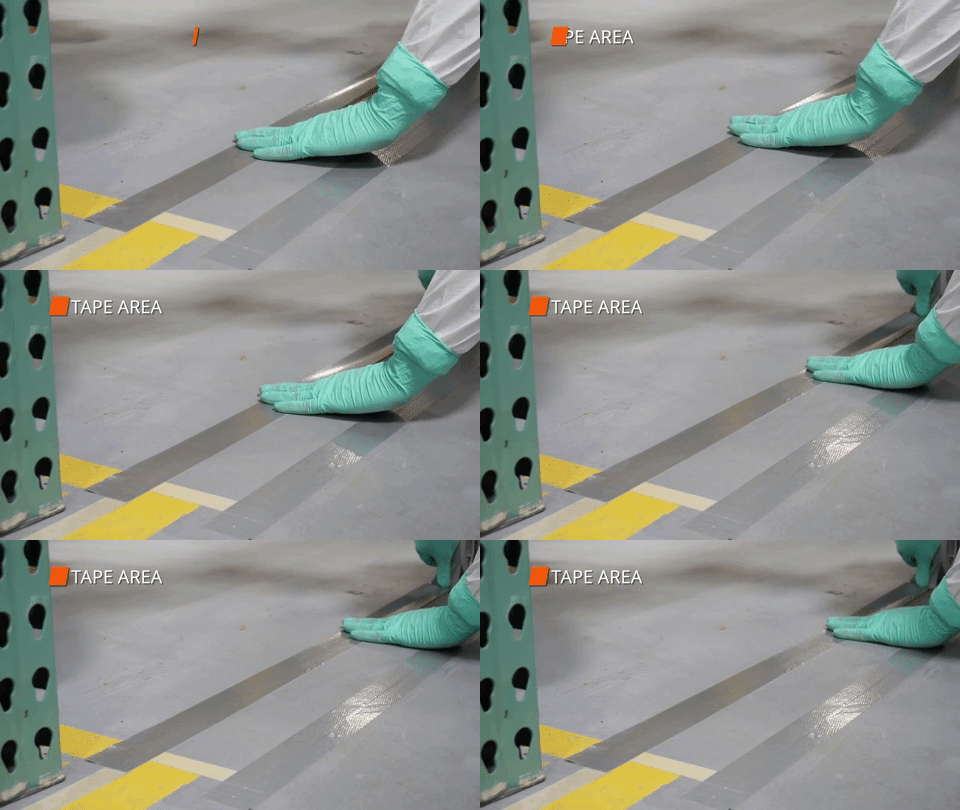
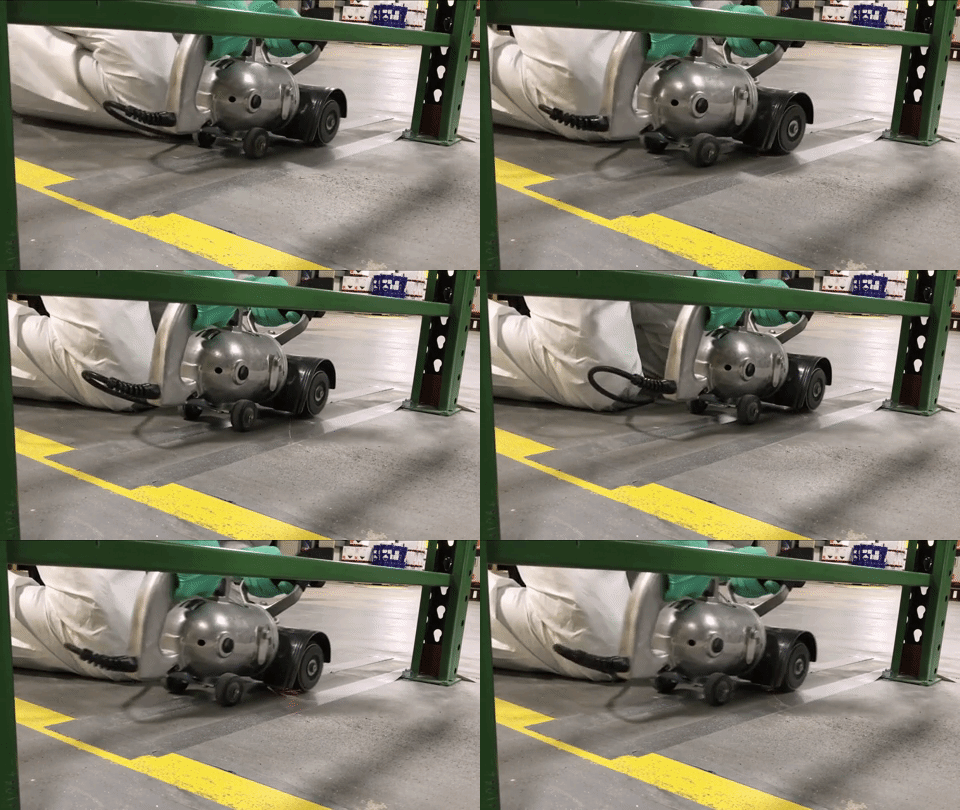
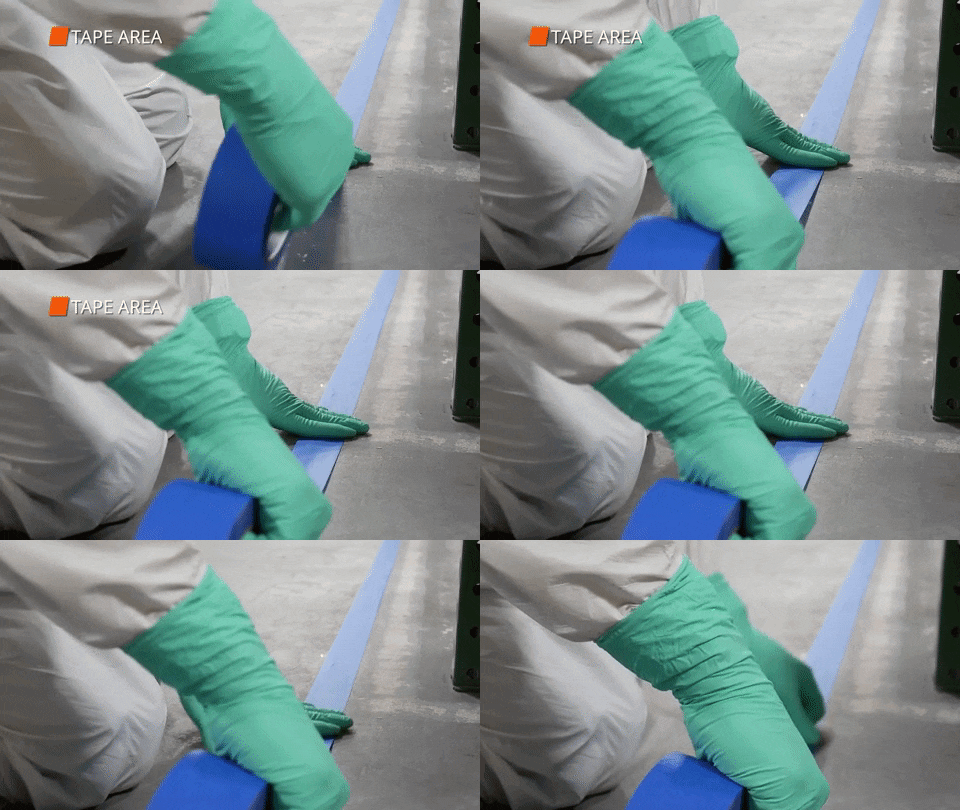
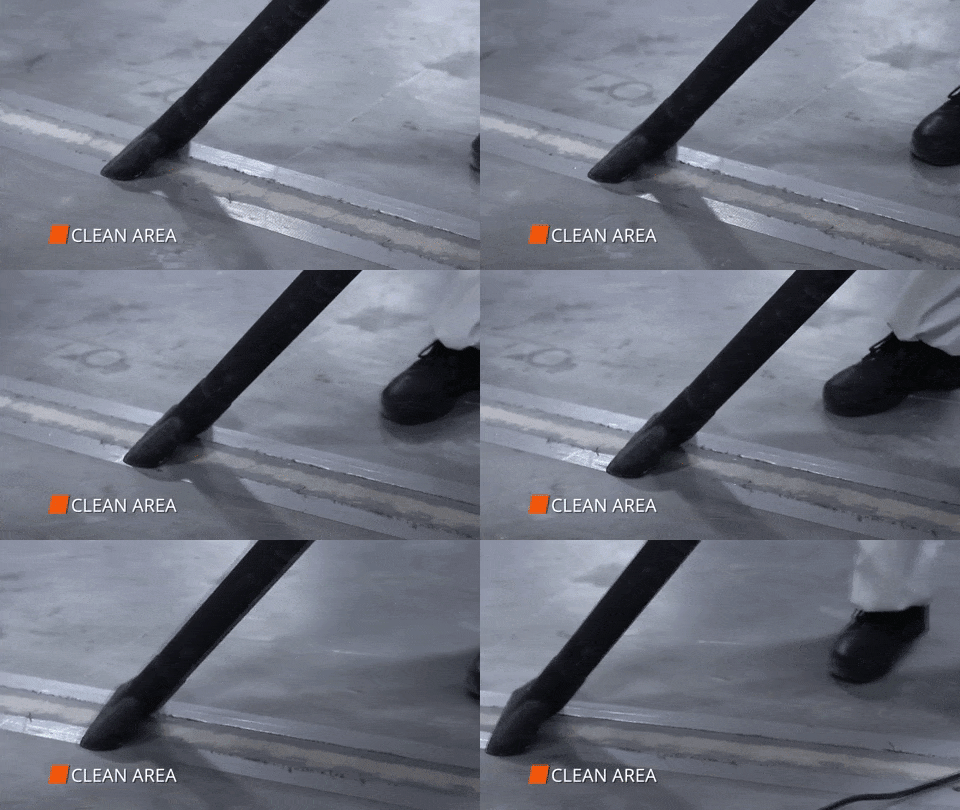
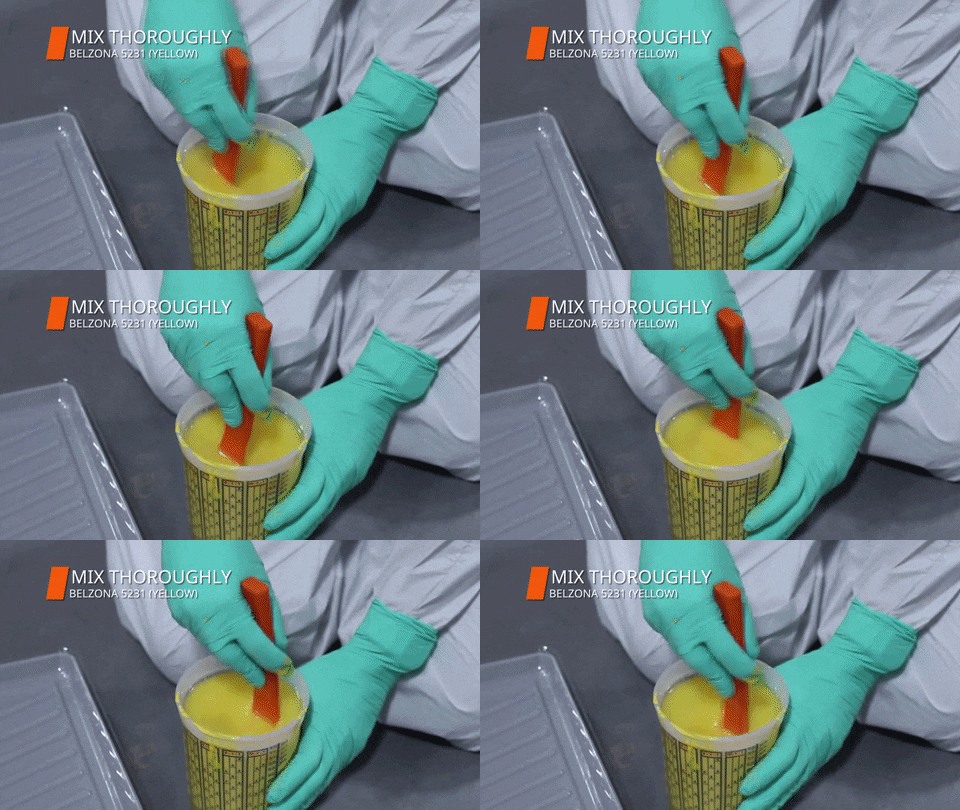
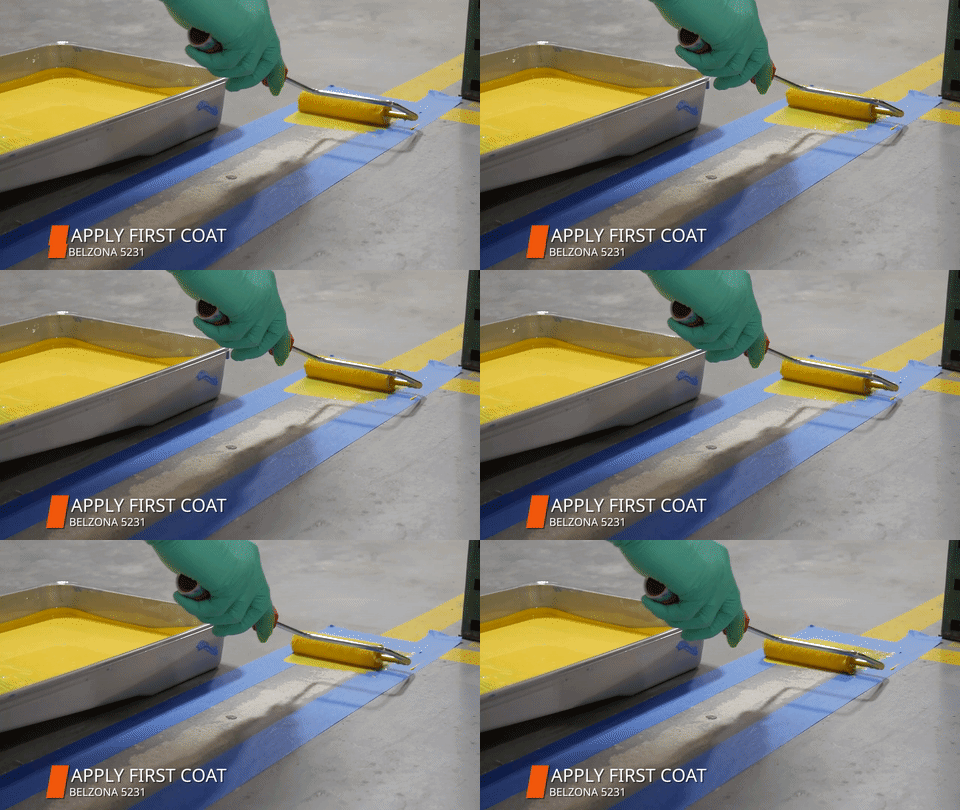
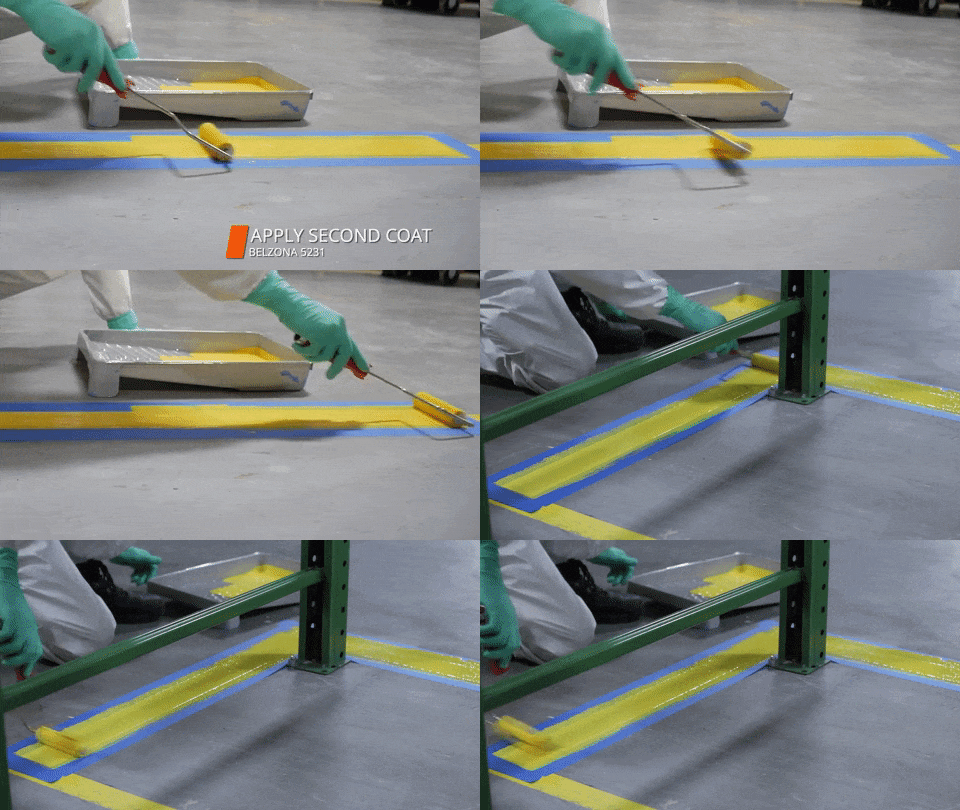
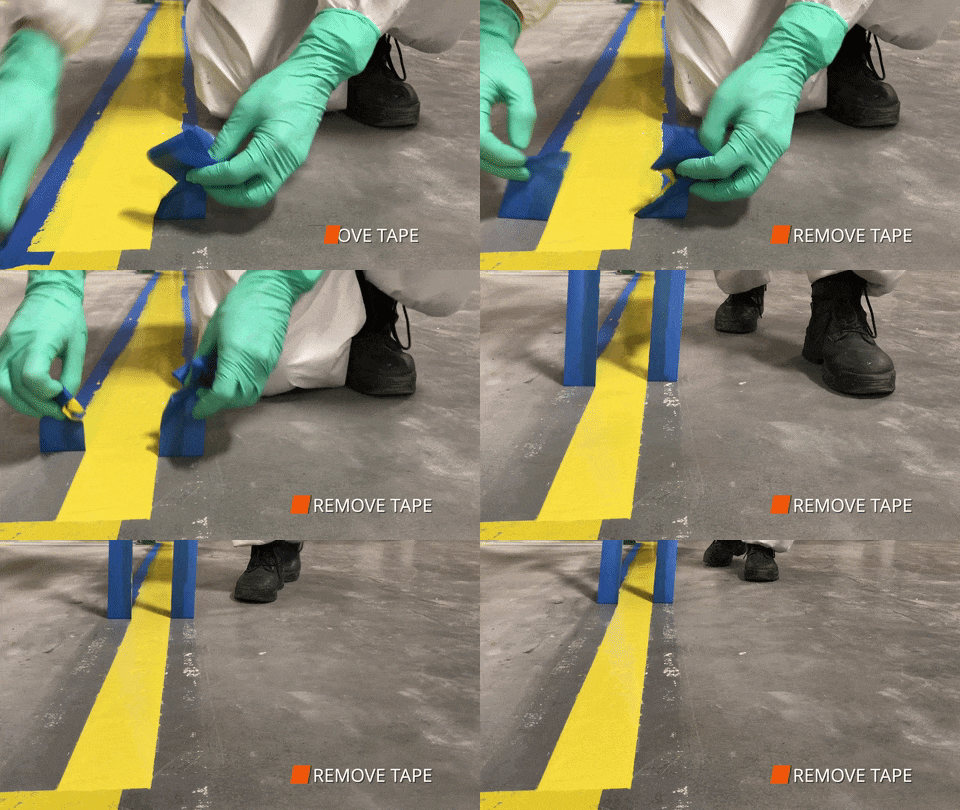
For this application, we used Belzona 5231 (SG Laminate) in bright yellow for high visibility. First of all, we cleaned and prepared the surface. Since the application was carried out on bare concrete, we used a scarifier to abrade the substrate. If an application area has an existing coating, the area can be pressure washed and abraded with an emery cloth. Following surface preparation, we mixed Belzona 5231 Base and Solidifier and transferred to a tray. We used a paint roller to apply Belzona 5231. In this case, we applied two coats of Belzona 5231 to provide better visibility. If desired, one thicker coat may be used instead.
SUPPLIES AND TOOLS NEEDED FOR A SAFETY MARKING APPLICATION WITH BELZONA 5231


8 STEPS TO CREATING SAFETY MARKINGS WITH BELZONA 5231
BELZONA 5231 APPLICATION
Visit our website: www.belzona.com/flooring-solutions
Interested in purchasing Belzona’s repair composites and protective coatings?
Yulia Burova, Marketing Director, Belzona Inc., Miami FL, USA

